Grade 5 Earth & Space Science — Water on Earth Systems | Unit 1, Lesson 2 of 6
📚 Grade: 5th Grade⏱️ Duration: 45–60 minutes🔬 Subject: Earth & Space Science — Water on Earth Systems
☀️💨💧
The Sun drives evaporation, and cooling causes condensation.
📋 NGSS Standard: 5-ESS2-1 — Develop a model using an example to describe ways the geosphere, biosphere, hydrosphere, and/or atmosphere interact.
🎯 Learning Objective
Students will use a hands-on model to explain how water moves between Earth’s surface and the atmosphere through evaporation and condensation.
💡 The Big Idea
Water moves from the hydrosphere into the atmosphere when it evaporates, and it returns as liquid droplets when water vapor cools and condenses.
🔬 The Science
Science Snapshot
Water keeps moving between liquid and gas depending on how much energy it has.
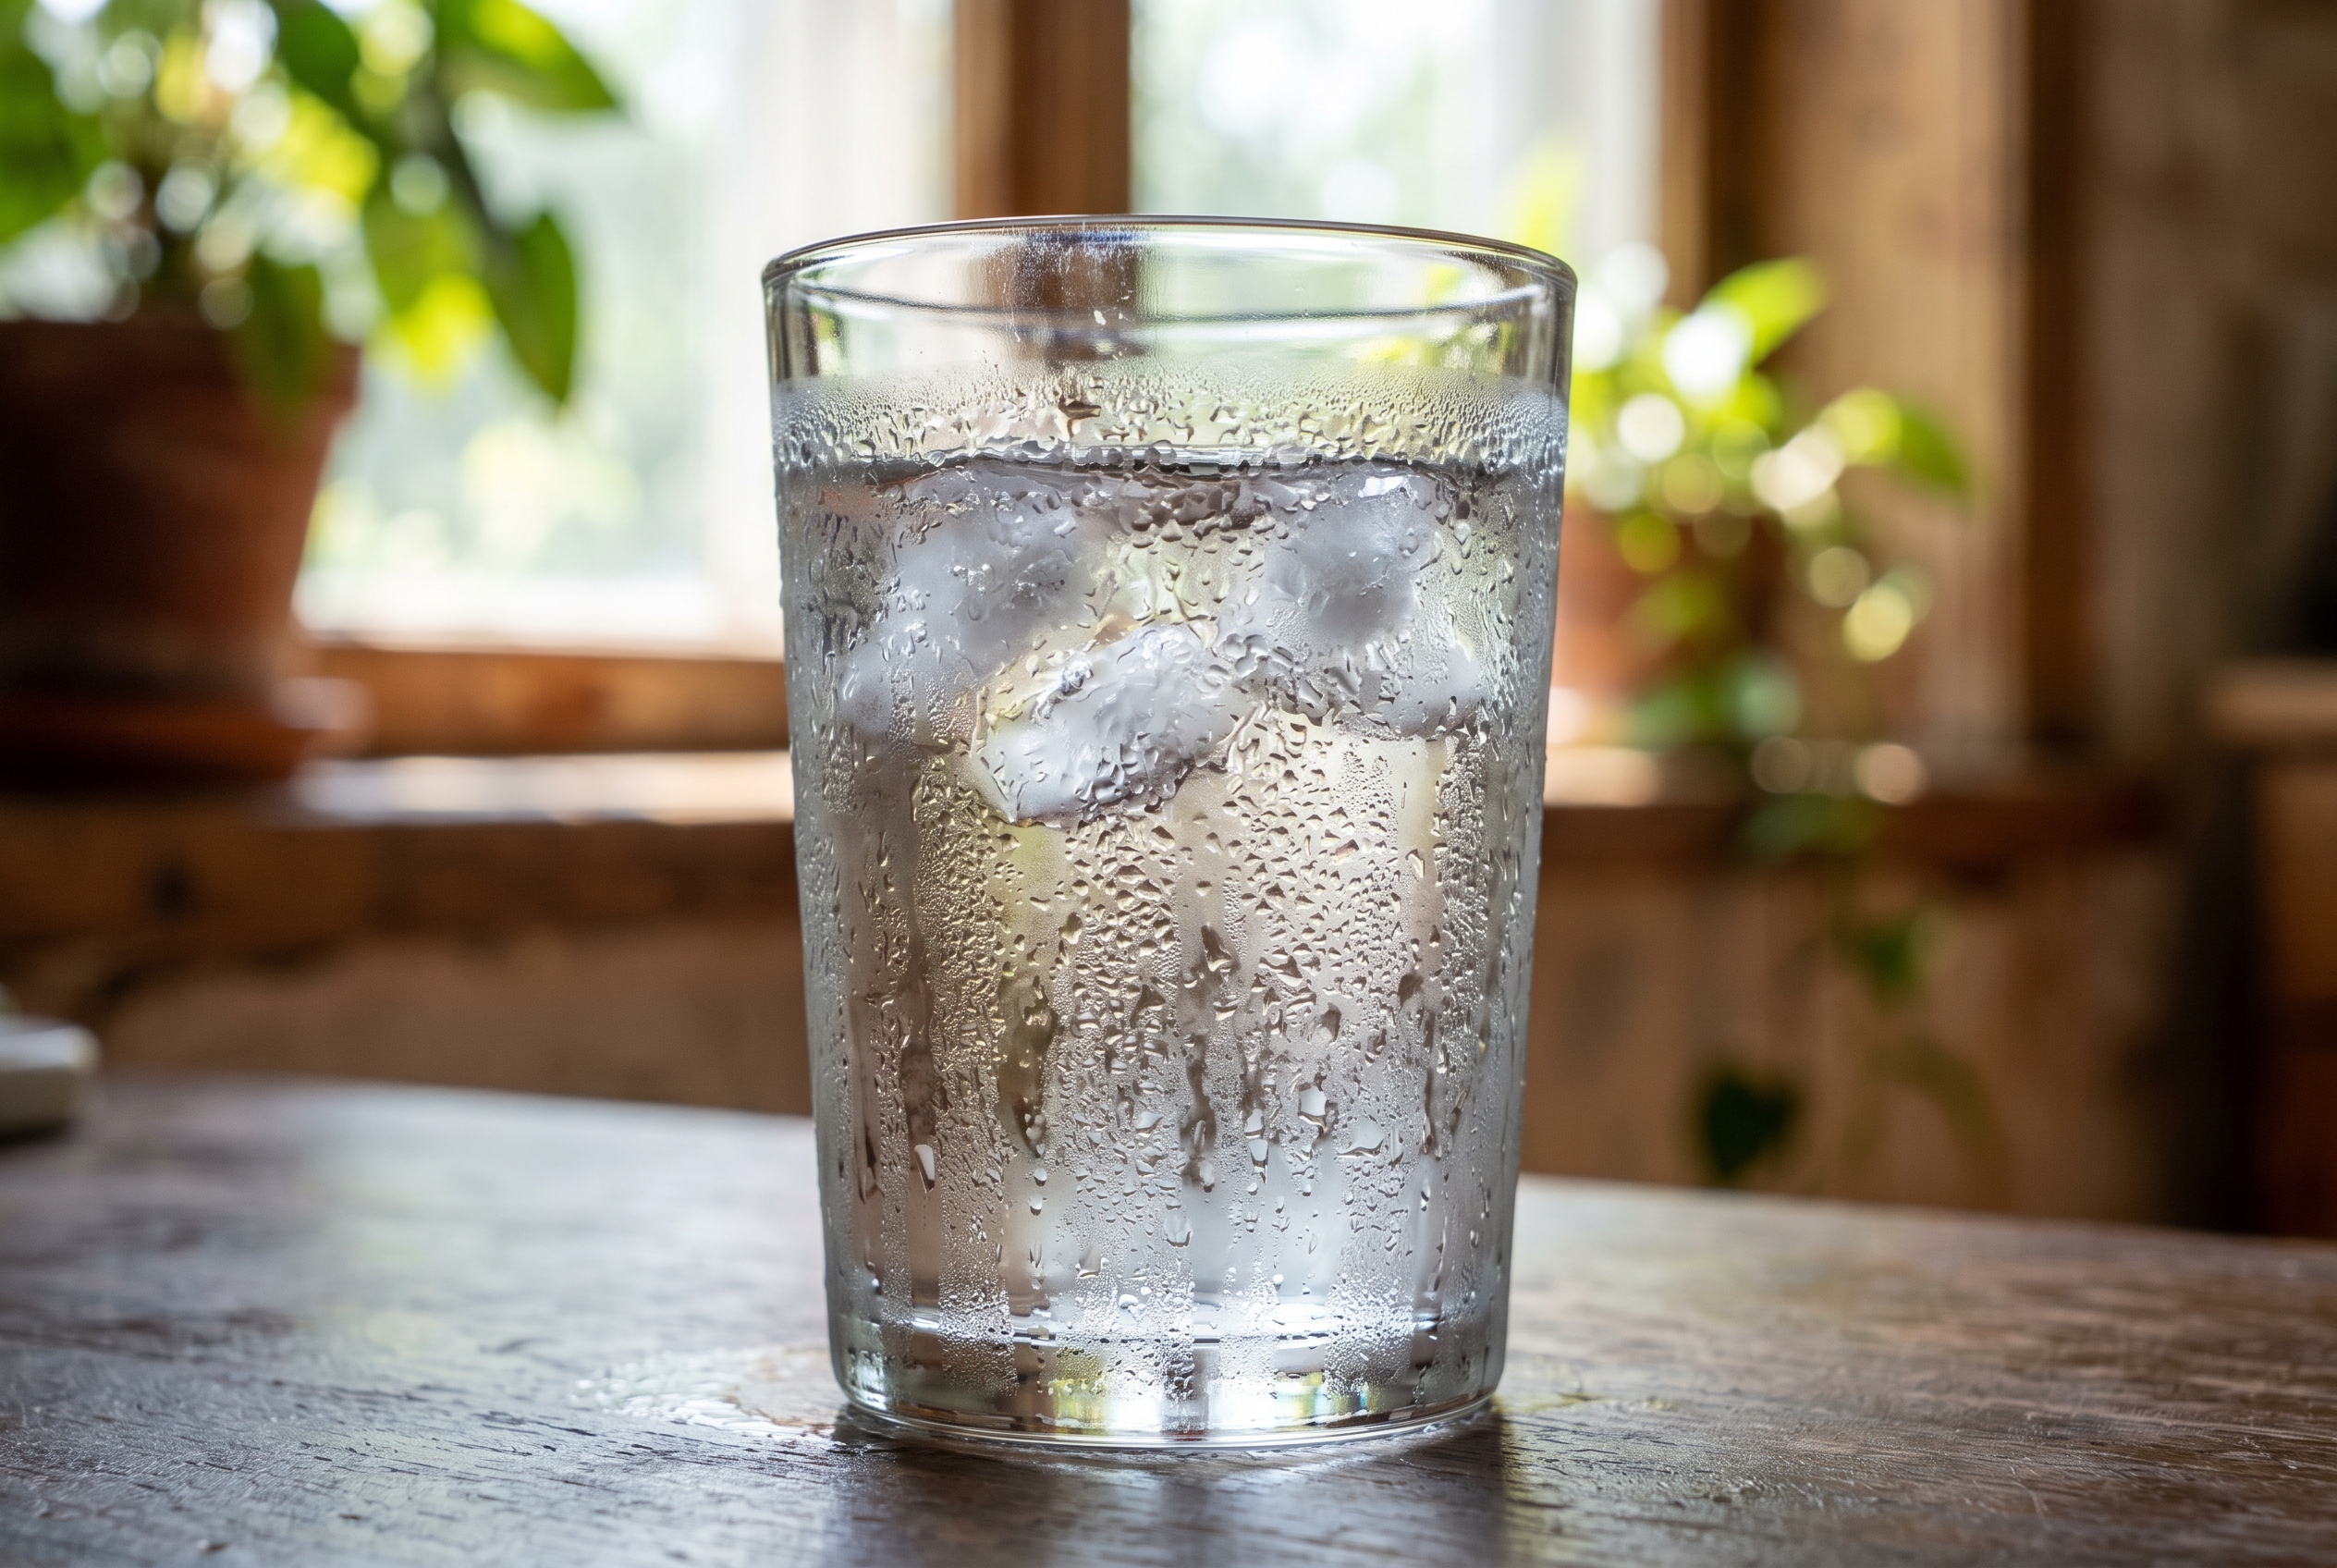
Photo card: This is condensation in real life. The droplets on the outside of the cold glass did not leak through the cup — water vapor in the air cooled down, lost energy, and changed back into liquid on the cold surface.
What is happening?
Evaporation happens when liquid water gains energy and changes into water vapor. Condensation is the reverse process: water vapor cools and forms tiny liquid droplets.
Why it works that way
These changes do not make new water; they move the same water between states. Warm air can hold more water vapor, and when that air cools, the vapor gathers on dust particles or cold surfaces to make clouds, fog, or dew.
Look for this in the lesson
Students should connect puddles disappearing, bathroom mirrors fogging, and cloud formation as examples of the same big water-cycle idea. The important scientific move is linking energy change to a change of state.
Ask while you read: What clues in the photo show that the water on the outside came from the air, not from inside the glass?
📦 Materials
🏠 Household Items to Gather
Clear cup or jar
Warm water
Plastic wrap or plate
Ice cubes
Worksheet and pencil
📋 Printables
Student worksheet page from this lesson
🧪 Investigation
Step 1 — Make a prediction (5 min) Before building the model, ask: Where will the water go when it gets warm? Where will droplets appear when part of the model gets cold? Students record a prediction.
Step 2 — Build the model (5–10 min) Place warm water in a clear cup or jar and cover it with plastic wrap or a plate. Students sketch the setup and label the warm water as the hydrosphere.
Step 3 — Add cooling and watch closely (10 min) Place ice on top of the cover. Students observe for several minutes and record exactly where droplets appear, what changes first, and what changes next.
Step 4 — Trace the water’s path (10 min) Students use arrows or words to explain the sequence: liquid water warms, some water evaporates into water vapor, the vapor reaches the cool surface, and condensation forms droplets.
Step 5 — Compare two ideas (10 min) Ask students to decide which explanation fits the evidence better: “The water leaked through the cover” or “Water vapor cooled and condensed on the cover.” They must defend their choice with observations.
Step 6 — Connect the model to Earth systems (10 min) Students explain that the warm water represents water at Earth’s surface and the air space above it represents the atmosphere. They finish by naming how this model shows interaction between the hydrosphere and the atmosphere.
💬 Discussion Questions
What evidence showed that evaporation happened?Students should point to warm water changing into invisible water vapor before droplets formed on the cool surface.
What evidence showed that condensation happened?Droplets formed on the cool cover after water vapor touched that cooler surface.
Why is “it leaked through” a weaker explanation?The droplets formed because water vapor cooled and changed state, not because liquid water passed straight through the cover.
How does this connect to the NGSS standard?The model shows water moving between Earth’s surface and the atmosphere, which is one example of Earth system interactions.
🚀 Extensions
Extension: Try a second setup without ice on top. Compare how much condensation forms and use that comparison to explain why cooling matters.
👩🏫 Parent/Teacher Notes
Teaching move: Keep students focused on evidence and sequence. This lesson works best when they explain what changed first, what changed next, and what evidence supports that claim, then connect the model to hydrosphere-atmosphere interaction.
Where will droplets appear when the top gets cold?
2️⃣ Trace the water’s path
Step in the model
What happened?
What process is this?
Warm water in the cup
Water in the air space
Droplets on the cool cover
3️⃣ Use evidence to choose the best explanation
Which is better supported by your observations: “The water leaked through the cover” or “Water vapor condensed on the cool cover”?
4️⃣ Connect to Earth systems
How does this model show interaction between the hydrosphere and the atmosphere?
🔑 PARENT ANSWER KEY — Detach before giving worksheet to students
Sample explanation
The warm water in the cup represents water at Earth’s surface. Some of that water evaporated into water vapor, moved into the air space, and then condensed into droplets when it touched the cool cover. This shows interaction between the hydrosphere and the atmosphere.
✅ What Success Looks Like
Student distinguishes evaporation from condensation.
Student uses observations to reject the idea that the water simply leaked through.
Student traces water moving from liquid to vapor to droplets.
Student connects the model to interaction between Earth’s surface water and the atmosphere.
🥼
This is a preview. Unlock the full lesson.
You're seeing a preview. Full-library access is not live yet. For now, browse the live store products and free sample lessons while the larger subscription offer stays in Coming Soon. Live now: free samples + Kitchen Chemistry.