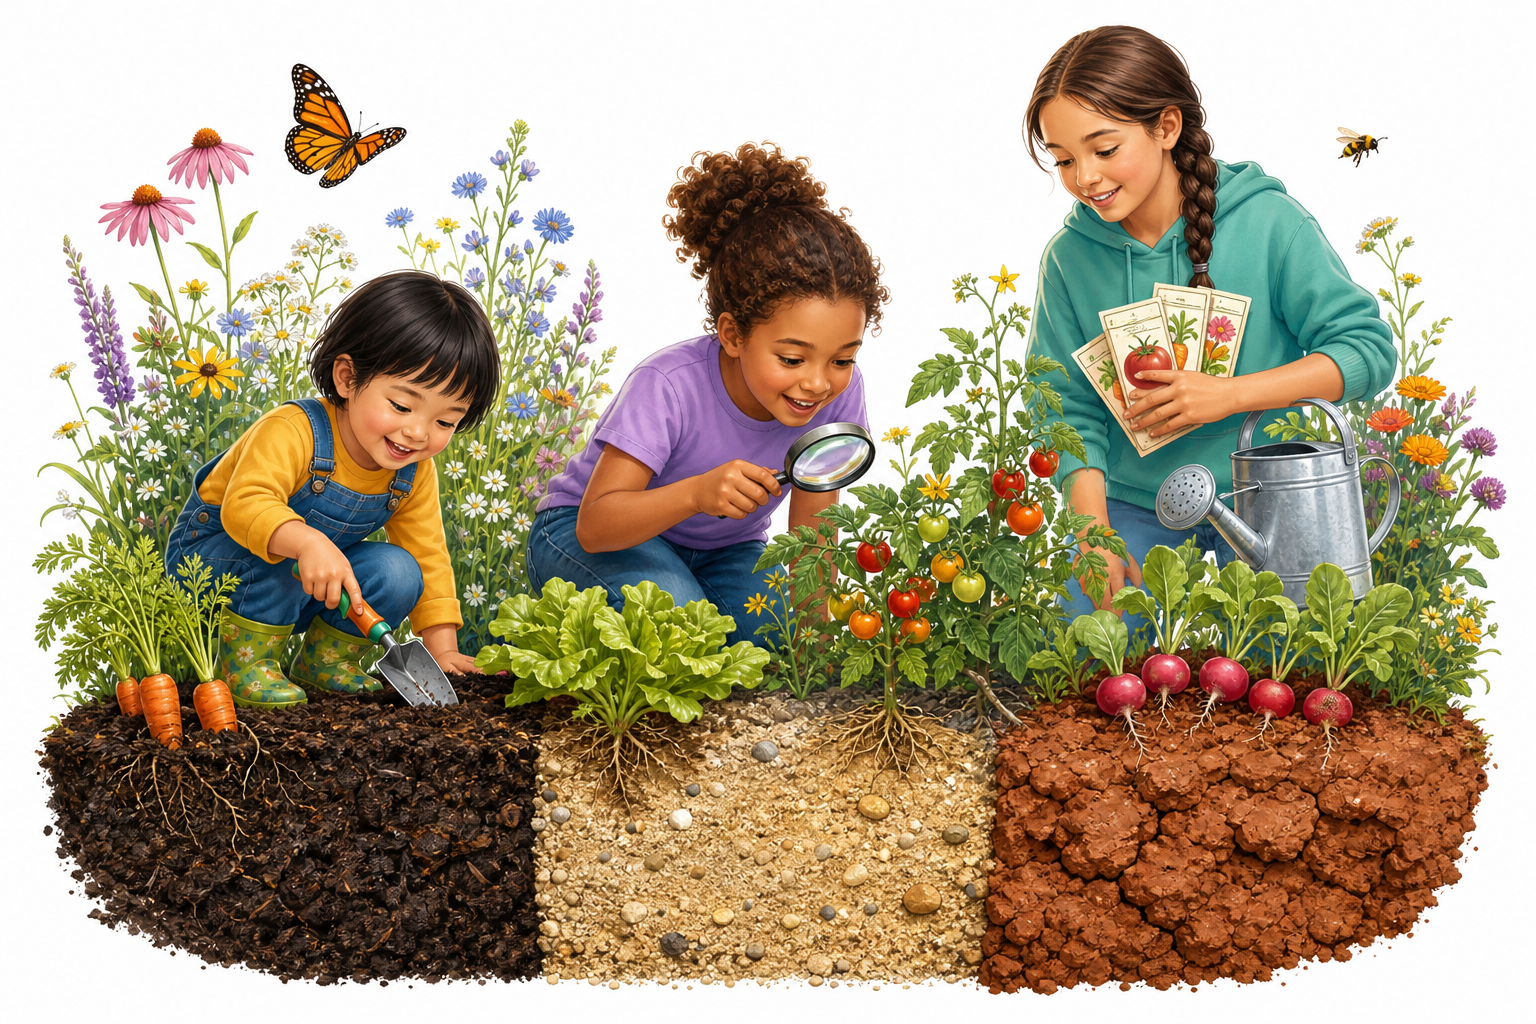
What makes this special: one shared family experience, but with built-in challenge levels so a preschooler, upper elementary child, and middle school learner can all feel smart, busy, and delighted at the same table.
Gardening lesson
Turn your kids into real garden detectives as they compare soil, plant seeds, observe roots and leaves, and decide what kind of garden would thrive best in their space.
Big idea: plants do best when their needs match the place they grow — and good gardeners learn to notice clues before they plant.
🧠 Key Vocabulary
soilseedrootstemleafdrainagepollinatorevidence
🎯 Learning Goal
Students will compare soil types, notice how seeds and plant parts depend on their environment, and use evidence to decide what kind of garden they could grow.
💡 Why this lesson works
Gardening is naturally irresistible because it feels real. There is dirt. There are mysteries. There are baby plants and future snacks and butterflies and tiny jobs that feel important. This lesson leans into that magic while still giving kids a clear structure to follow.
Science made visible
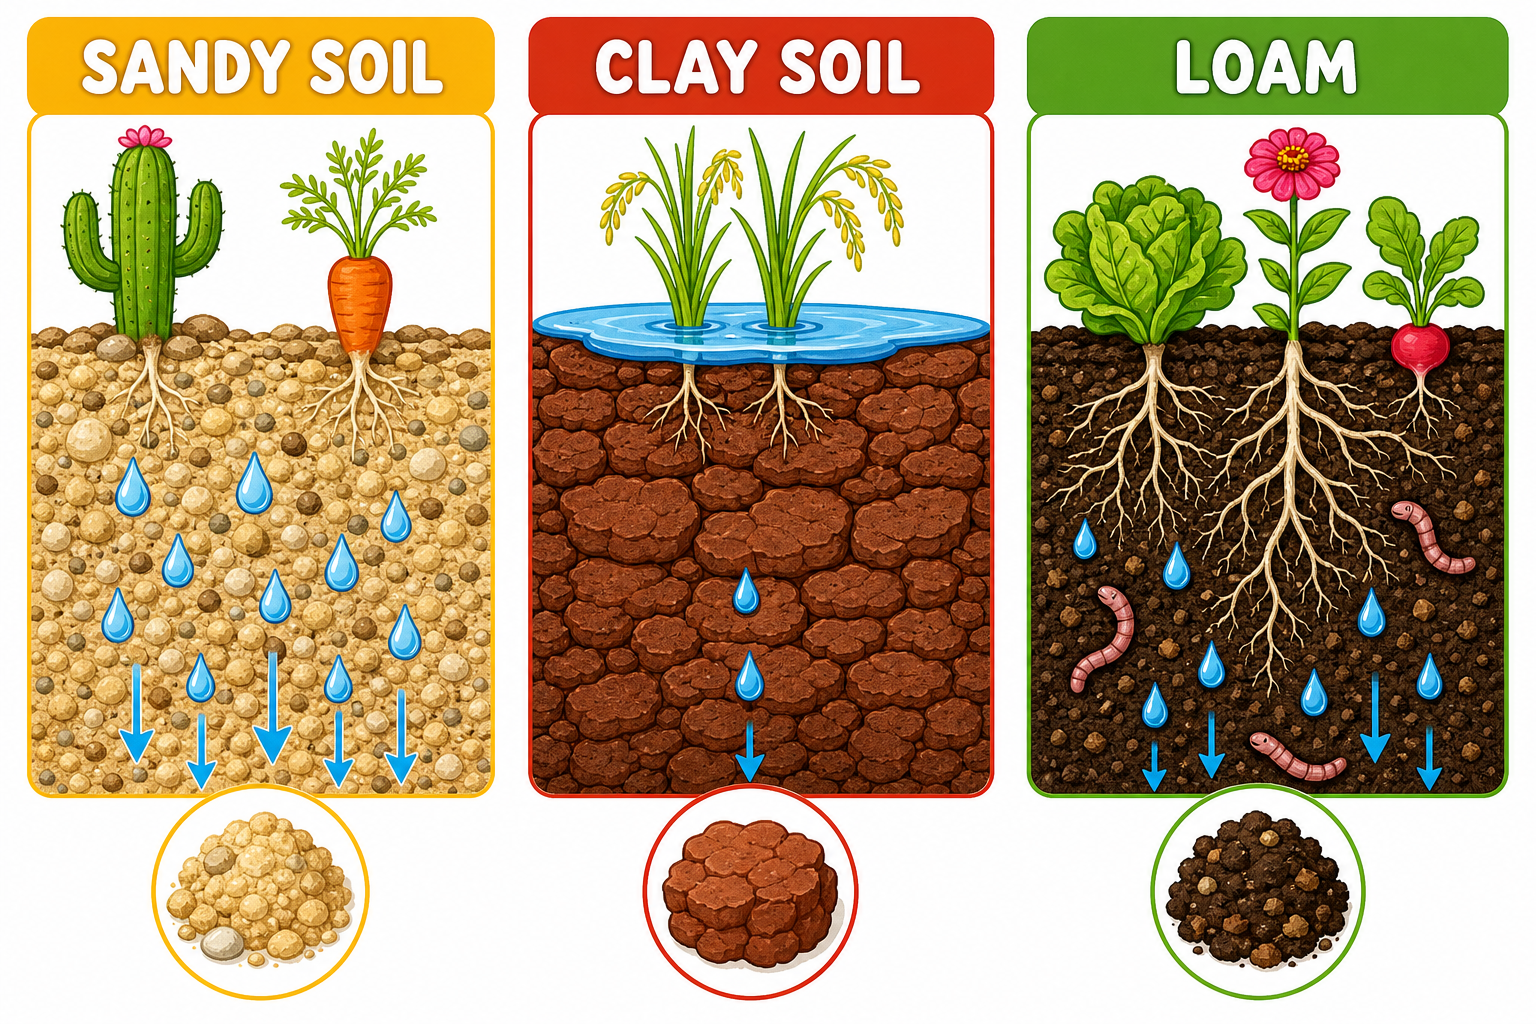
Kids can literally see that not all dirt is the same. Use the diagram to talk about drainage, texture, and why one plant thrives while another sulks dramatically.
Sandy soil: gritty, drains quickly
Clay soil: sticky, holds water tightly
Loam: crumbly, rich, and garden-gold
📦 Materials
3 small bowls or cups
Sand, clay-heavy dirt, and potting soil/loam if possible
Water and spoon
3 bean, pea, sunflower, or wildflower seeds
Magnifying glass (optional but lovely)
Paper, crayons/colored pencils, and tape labels
One real plant, weed, or leaf from outdoors if available
🧪 Lesson Flow
Step 1 — Make the mystery tray. Set out the three soil samples and let everyone touch, smell, and compare before naming them.
Step 2 — Add water and watch. Drip the same amount of water into each sample. Which one drinks fast? Which one puddles? Which one feels best for roots?
Step 3 — Plant a seed. Each child chooses where their seed should go and explains why.
Step 4 — Study one real plant part. Inspect a leaf, weed, flower, or seedling and sketch what you notice.
Step 5 — Build a garden plan. Students choose one thing they would grow: vegetables, herbs, wildflowers, or pollinator plants.
Step 6 — Explain with evidence. Kids answer: “What kind of soil would help my garden most, and why?”
🌈 Differentiated by age
Age 4 — Tiny Sprout Jobs
Touch and describe: rough, smooth, sticky, soft
Sort pictures into “plants I can eat” and “plants that make the garden pretty”
Draw a happy seed in its favorite soil
Age 9 — Garden Scientist Mode
Record observations in a soil comparison chart
Label plant parts and explain their jobs
Recommend the best soil for a small garden bed
Age 12 — Field Researcher Challenge
Analyze drainage and predict which plants would fail or thrive
Explain how roots, nutrients, and water retention connect
Design a starter garden plan with reasoning, not vibes alone
💬 Discussion Questions
Which soil felt best for roots — and what evidence supports your answer?
How can a leaf or stem give us clues about what a plant needs?
If you wanted butterflies to visit, what would you plant and where would you put it?
🚀 Extension Ideas
Start a 7-day seed journal and track which seed wakes up first.
Go on a weed hunt: which plants were invited, and which ones showed up unannounced?
Take a neighborhood walk to spot flower shapes that seem built for bees, butterflies, or hummingbirds.
👩🏫 Parent / Teacher Notes
Mixed-age magic: put the oldest child in charge of evidence language, the middle child in charge of observations, and the youngest in charge of sorting and noticing.
Keep it playful: let them argue about which soil is “too swampy” or “too thirsty.” That language becomes the bridge to real science.
Optional follow-up: after the lesson, take a photo of their planted seeds and tape it onto the worksheet tomorrow.